Yoga Routine For After-Work Relaxation
Table of Contents
After working for long hours, we’re pretty certain that changing into your workout clothes and jumping onto your yoga mat is the last thing on your mind. After all, if you’ve already exhausted yourself at work, you probably don’t have enough energy to do anything else except for rest and sleep.
Trust us though when we say that doing a yoga workout after work will definitely be able to shake off that exhaustion and send you into a further relaxed and calm state. A lot of people start their day by having a morning yoga routine, but if you have no time in the morning, yoga after work is more than fine too.
Motivating yourself to hop on a mat and just start a yoga practice can be difficult, especially if work has bogged you down. But doing yoga can improve the quality of your life. You don’t even have to jump into a full-on 30 minute yoga routine right away. You can start small with seated meditations, stretching, or setting aside 10 minutes to do yoga. Once you’ve established that habit, you can take your yoga routine a step up further with more poses and longer sessions.
In this article, we rounded up some yoga poses that you can incorporate into your yoga routine! Take a look at them and practice yoga at home or at the gym!
How Many Times A Week Should I Do Yoga?
Whether you’re a beginner in yoga or not, a general rule of thumb is to practice yoga between two to five times per week. If you’re just starting out, two times a week is ideal, and you can gently work your way up. You know your body best and it goes without saying that you should listen to your body when you practice yoga. If your muscles are aching, take a day off or two from yoga practice before picking it up again.
What Is A Good Yoga Routine?

While a morning yoga routine is the most ideal way to start your day off, some people just don’t have enough time in the mornings before rushing to work. Despite that, you can still insert these yoga practices at any time of the day. There are a wide range of yoga styles such as:
We’ve narrowed our list down to the most commonly practiced positions to help you get started with your yoga flow.
Mountain Pose
This pose is always a good one to start with. Ground your feet and make sure to press evenly through all four corners of each foot. Place your arms on your sides and stretch them towards the floor, palms facing front. Contract your thigh muscles and lift your kneecaps. Pinch your shoulder blades together then pull them down. Hold for five to eight breaths to ground yourself and focus.
Tree Pose
Start with doing a mountain pose and then shift your weight onto your left foot and lift your right off the ground. Grab your right foot and place it to the inside of your left leg, avoiding the knee and resting it above or below the joint instead. Stare at an unmoving point in front of you as you bring your arms to a prayer position at the center of your chest. If you’re flexible, you may be able to do this position without grabbing your right foot. Repeat on the other side.
If it’s difficult for you to balance, you can try a modified tree position instead. Try to do this with your back to the wall or try resting one hand on a chair placed next to your standing leg.
Forward Fold
Begin with the feet flat on the ground at a hip-distance apart and your hands interlaced behind your back, arms straight. Lift your interlaced hands away from the body, train your gaze towards the ceiling, collarbones spread wide. Next, hinge at the hips and fold your torso over the legs and stretch your arms overhead. Relax your head down and shift your weight towards the balls of the feet. Hold for three breaths, release, and return to standing.
Half Sun Salutation
Moving on from forward folds, at the front of your mat, come into a flat back position with your hands under your knees and take a deep breath. Fold forward and exhale. Next, slowly roll up to a standing position and sweep your arms up towards the ceiling. Then, bring your hands down to your heart to return to a forward fold position as you exhale.
Cat Pose
To do this, start by arranging yourself in a tabletop position by situating yourself on all fours with hands directly under shoulders and knees under hips. Next, press into your hands as you round your upper back, as if a string was pulling the middle of your back to the ceiling. Drop your head and tuck your chin to chest as you hug your belly towards the spine.
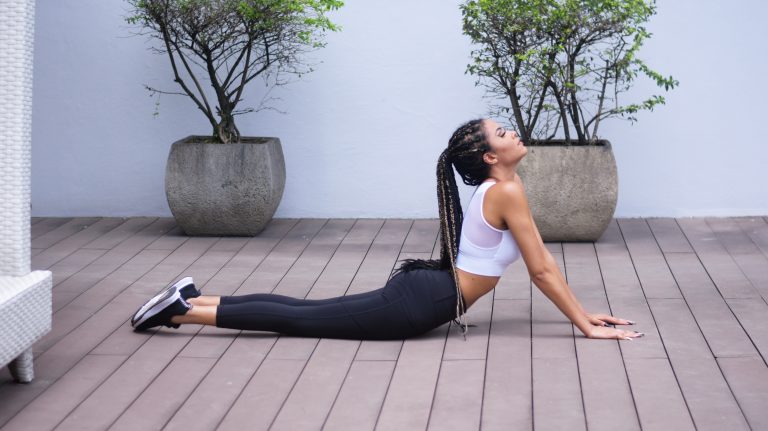
Cow Pose
Similar to the cat pose, you begin this one in a tabletop position. Next, lower your belly and lift your chest. Stay grounded through your hands as you broaden your shoulders. Lift your gaze to look forward or up and hollow out your lower back as you drop your shoulders away from the ears.
Cat-Cow
The Cat-Cow is a combination of the cat pose and the cow pose. Start on a table top position and do the cow pose – inhale and arch the spine so the belly sinks down while your face and tailbone lift upwards. As you exhale, transition to doing the cat post by pushing into hands and knees to hollow your belly, round the spine, tuck the chin towards the chest, and create space between the shoulder blades. Repeat for five slow breaths or about one minute.
Chair Pose
For this one, start by standing with the feet together and arms at the sides. As you do that, raise your hands overhead, palms facing in until the biceps are by your ears while bending knees and sitting back as if lowering into a chair. Hold for five breaths.
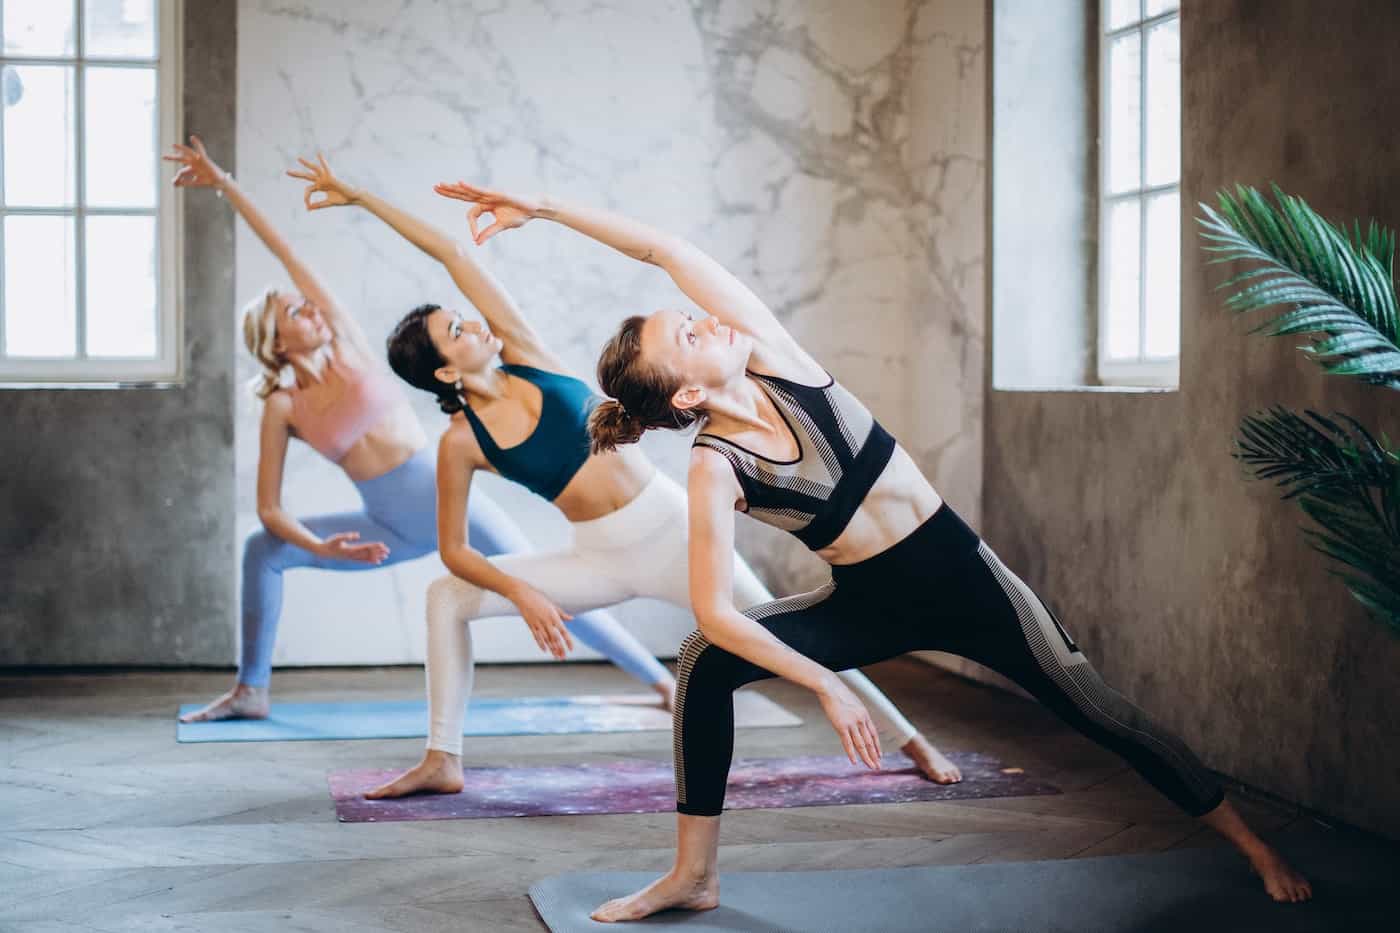
Extended Side Angle
Bend the front knee and place the outer right forearm on the upper right thigh. Extend the top arm overhead and lengthen yourself from the outer edge of the left foot all the way through the left fingers. Hold for five to eight breaths. Next, drop your hands alongside the front foot and step forward. Fold into both legs and come back up. Repeat the posture on the left side.
Downward Facing Dog

You can do the downward facing dog position on its own or use it as a transition pose. If you’re coming from the extended side angle pose, start by placing both hands on the floor on either side of the left foot. Step the left foot back to meet the right foot.
Press firmly into your hands with your fingers facing forward as you roll your upper arms outwards. Lengthen up through your torso and remember to keep your abdominals engaged. You can bend your knees if you can’t keep your legs straight. Hold for eight to ten breaths for coming back up.
Forearm Plank Position
From a downward dog position, you can roll out to a plank position and place your forearms on the floor. Make sure that your body forms a straight line from head to toe. Keep your abdominals engaged and hold for about thirty to sixty seconds.
High Plank Position
From a downward dog position or forearm plank, you can transition to a high plank pose. Place your hands on the floor directly underneath your shoulders and step your feet to the back of your mat. Make sure your toes are curled under. Tense every muscle to keep your body in a straight line from your head to the top of your heels.
Pigeon Pose
You can transition to this pose from the downward dog position. Lift your right leg high and then bring the knee of your right leg to your right wrist. Your right ankle should be around your right hip. You can rest your head on the mat for a deeper stretch. Enjoy several breaths here.
Warrior I
Start with your legs almost as wide as the yoga mat. Lunge forward with your front toes pointing at a 90 degree position and back foot firmly planted on the floor. Your front heel should be in line with your back midfoot. If you’re having trouble positioning your front knee to a 90 degree angle, put your hands on your hips.
Warrior II
Start by doing the Warrior I pose with your right foot forward, toes facing straight ahead. Place your left foot back, outside of foot parallel to the back of the mat and your right heel lined up with the middle of the left inner arch. Position your torso facing the left side and your arms at the sides.
Keep the left leg straight while deeply bending the right knee until the thigh is parallel to the mat. Next, extend your right arm forward and left arm back at shoulder height. Keep your gaze over your front fingers. Hold for three to five breaths.
Low Lunge
Start a low lunge by putting your right foot forward and placing your hands on either side of the foot. Drop your left knee to the ground and untuck your toes so that the top of your foot rests on the earth and then extend the back knee straight. Be certain that the right knee is positioned over the right ankle
Low Lunge Twist
From the low lunge position, twist from your upper body, engage your back leg, place your left hand flat on the floor or a block, and lift your right hand off the floor toward the ceiling. Breathe deeply before switching sides.
Seated Forward Fold
Sit down with your legs extended straight out in front of you. With a straight back, begin to bend forward. With every exhale, lean forward a little more. If your hamstrings are right, you can bend your knees slightly. Take a few breaths here.
Crow Pose with Leg Lifts
For this one, start by squatting down and place your hands shoulder-width apart on the floor with your fingers spread wide. Lift your hips up high as you come onto your toes. Bend your elbows back to make a shelf with your upper arms. Bring knees as high as possible as you set your eyes slightly out in front of you. Transfer your weight forward until one or both of your feet come off the floor. Press firmly into your hands and squeeze your core tight. Hold the position as you get both feet off the floor.
If the position is too difficult, you can do a modified version. Hold the crow pose or lift one leg at a time while keeping the other lightly touching the floor for balance.
Child’s Pose

A restorative pose, child’s pose is a great shoulder opening and can be used as a resting period in between difficult positions. Kneel on your mat with your knees hip width apart and your feet together behind you. Have your big toes touch each other and walk your hands forward until your forehead rests gently on the ground.
With your arms extended in front of you, keep your arm muscles and your core engaged to make this pose a little more “active.” Do 3 to 5 deep breaths steadily as you let go of any distraction and relax.
Savasana
This is the best pose to end any yoga session. Begin by lying on your back with knees bent, feet flat on the floor. Place your left hand over your heart and your right hand on your stomach. Extend legs and arms straight on the floor. Relax for one to two minutes.
You can mix and match these yoga styles to have a yoga routine that will work the best for you. As always, if you feel uncomfortable doing the poses by yourself, you can always seek a personal trainer to help you out and ensure you’re doing all of them correctly. Get on your mat and get your blood flow circulating with a great yoga workout! Stay safe and healthy!